
Vinyl is an analog medium that reads its music by physical contact — a diamond stylus tracing a groove barely wider than a human hair. Anything sitting in that groove becomes part of the signal. A speck of dust, a smear of fingerprint oil, a film of manufacturing residue: the stylus rides straight over all of it, and your cartridge faithfully turns each obstacle into noise. This is the central fact of record care. You are not polishing records to make them look nice; you are clearing the path the stylus has to follow so the only thing it reads is the music that was cut into the disc.
Why Cleaning Matters
The pops, ticks, and low-level crackle that people accept as "the vinyl sound" are largely not intrinsic to the format at all — they are debris. Dust and airborne grit settle into the groove and the stylus reads them as transient noise. New records add a wrinkle of their own: a thin coating of mould-release compound, a residue left over from pressing that helps the finished disc separate from the stamper. Straight out of the shrink-wrap, many records sound noisier than they should simply because that film is still sitting in the grooves, and a proper wet clean before the first play often makes an audible difference.
The deeper problem is wear. When a hard particle is lodged in the groove, the stylus does not gently glide past it — it strikes it under real pressure. Tracking forces are small in absolute terms, but they are concentrated on a contact patch measured in microns, so the localised force is enormous. A trapped grain of grit can be ground into the vinyl by the stylus, permanently deforming the groove wall and creating a pop that will be there on every future play. At the same time, that abrasive contact accelerates wear on the stylus itself. Dirty records and worn styli feed each other: a rough stylus damages records, and dirty records wear the stylus faster.
Static makes all of this worse. Vinyl is an excellent electrical insulator, and the friction of the stylus, the sleeve, and even the air builds a static charge on the surface as the record plays. That charge actively pulls airborne dust out of the room and onto the disc — which is why a record can look clean when you set it down and be visibly dusty by the end of a side. Controlling static is therefore not a separate concern from cleaning; it is part of keeping a record clean once you have cleaned it.
The Cleaning Methods, From Simple to Serious
There is no single "correct" way to clean a record — there is a ladder of methods, each doing more than the last, at rising cost and effort. Most listeners end up using two or three of these together: a quick surface method for every play, and a deeper method applied occasionally or when a record joins the collection.
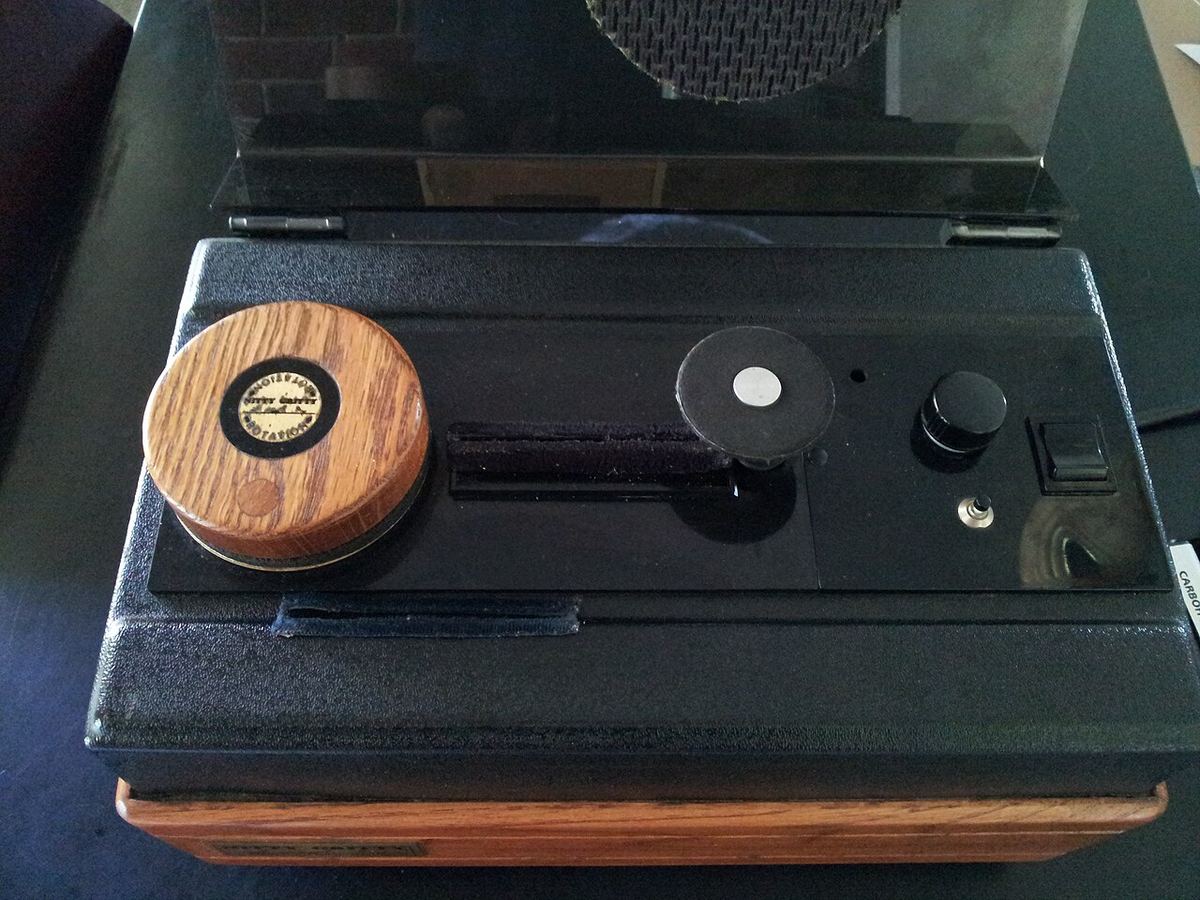
Carbon-Fibre / Anti-Static Brush
The first line of defence and the one every owner should own. A carbon-fibre brush has thousands of fine conductive bristles that lift loose surface dust and, because the fibres are conductive, help bleed off static charge as they sweep. Hold it lightly against the record as the platter turns for a rotation or two, then lift the collected dust away. It costs very little, takes seconds, and belongs on the plinth beside the turntable. What it does not do is remove anything stuck to the surface — fingerprints, dried spills, or embedded grime need a wet clean. Treat the brush as dusting, not washing.
Manual Wet Cleaning
The most cost-effective way to actually clean a record. Apply a purpose-made record-cleaning fluid, work it gently around the grooves with a soft applicator, and lift the dissolved dirt away with a clean lint-free cloth or pad — always following the direction of the groove, never scrubbing across it. A dedicated fluid matters: it is formulated to be residue-free and safe for vinyl, unlike household cleaners. Done carefully this removes fingerprints, mould-release film, and ground-in grime that a brush cannot touch. The limitation is that you are relying on the cloth to carry the loosened dirt off the surface rather than pushing it back down, which is exactly the problem the next two methods solve mechanically.
Vacuum Record-Cleaning Machine
A significant step up in both results and price. You apply fluid and scrub as before, but the machine then draws the dirty fluid — and the debris suspended in it — off the record through a slotted vacuum arm. Because the contaminants are physically sucked away rather than wiped, nothing is left to dry back into the grooves, and the record comes off clean and, crucially, dry. Vacuum machines are the workhorse of serious collections: consistent, fast once you have a rhythm, and repeatable across hundreds of discs. The trade-off is cost and a bit of noise, but for anyone cleaning records in volume they earn their keep.
Ultrasonic Cleaning
The most thorough method available, borrowed from laboratory and industrial parts-cleaning. The record is partly submerged in a fluid bath while a transducer drives ultrasonic waves through the liquid, creating cavitation — countless microscopic bubbles that form and collapse against the disc. Those collapsing bubbles reach into the finest groove detail that no cloth or brush can physically enter, lifting contaminants out from the bottom of the groove. The results on neglected or heavily played records can be dramatic. The cost is the highest of the lot, and cheap units vary in quality, but for reviving flea-market finds or achieving the quietest possible surfaces, nothing else reaches as deep.
The honest cost-benefit picture: a brush and a bottle of fluid cover the great majority of what most collections need for very little money. A vacuum machine is the point at which cleaning becomes fast, repeatable, and genuinely deep — worth it once you are cleaning regularly. Ultrasonic is the specialist's choice, delivering the last increment of quiet at a price that only makes sense for large or demanding collections. Spending more up the ladder buys deeper, more consistent cleaning, but each rung also asks more of your budget.
What Not To Do
Records are more chemically and mechanically delicate than they look, and a well-meaning "clean" can do permanent harm. A few practices are worth ruling out completely.
Do not improvise with household chemicals or rough materials. Never use isopropyl alcohol or other solvents on shellac 78s — alcohol dissolves the shellac itself and can ruin the record in a single wipe (it is also best avoided on modern vinyl). Skip tap water: its dissolved minerals dry into the grooves as a fine residue, so any final rinse should use distilled or deionised water. Never wipe a record with paper towels or tissues — wood-fibre paper is abrasive and leaves fine scratches and lint behind. And never put a record through a dishwasher: the heat can warp the disc and the detergents and jets are hostile to vinyl. When in doubt, a proper record fluid and a lint-free cloth are the safe baseline.
Sleeves: The Cheapest Upgrade You Can Make
A record spends almost all its life in its sleeve, so the sleeve is doing more to protect it than any cleaning machine. The stock paper inner sleeves that many records ship in are the quiet villains here: bare paper sheds fibres and is mildly abrasive, so every time the record slides in and out, the paper is depositing lint and adding faint scratches. Swapping them out is the single cheapest quality upgrade available to a vinyl owner.
- Anti-static / poly-lined inner sleeves. The best inners use a soft high-density polyethylene liner (often in a paper outer shell) that is smooth, non-abrasive, and does not generate static as the record slides against it. Round-bottom "audiophile" sleeves are gentler on the disc edge than square paper ones. Replacing stock paper inners with these protects your cleaning work between plays.
- Outer sleeves. A clear polypropylene or polyethylene outer jacket slips over the whole album cover. It protects the artwork from ring wear, shelf scuffing, and dust, and — for anyone who cares about the collection's value — keeps jackets in the condition that sleeve-graders reward. It does nothing for the sound, but it preserves the record as an object.
Storage, Stylus, and Static
Cleaning a record is wasted effort if the way you store and play it undoes the work. Three ongoing habits keep a clean record clean.
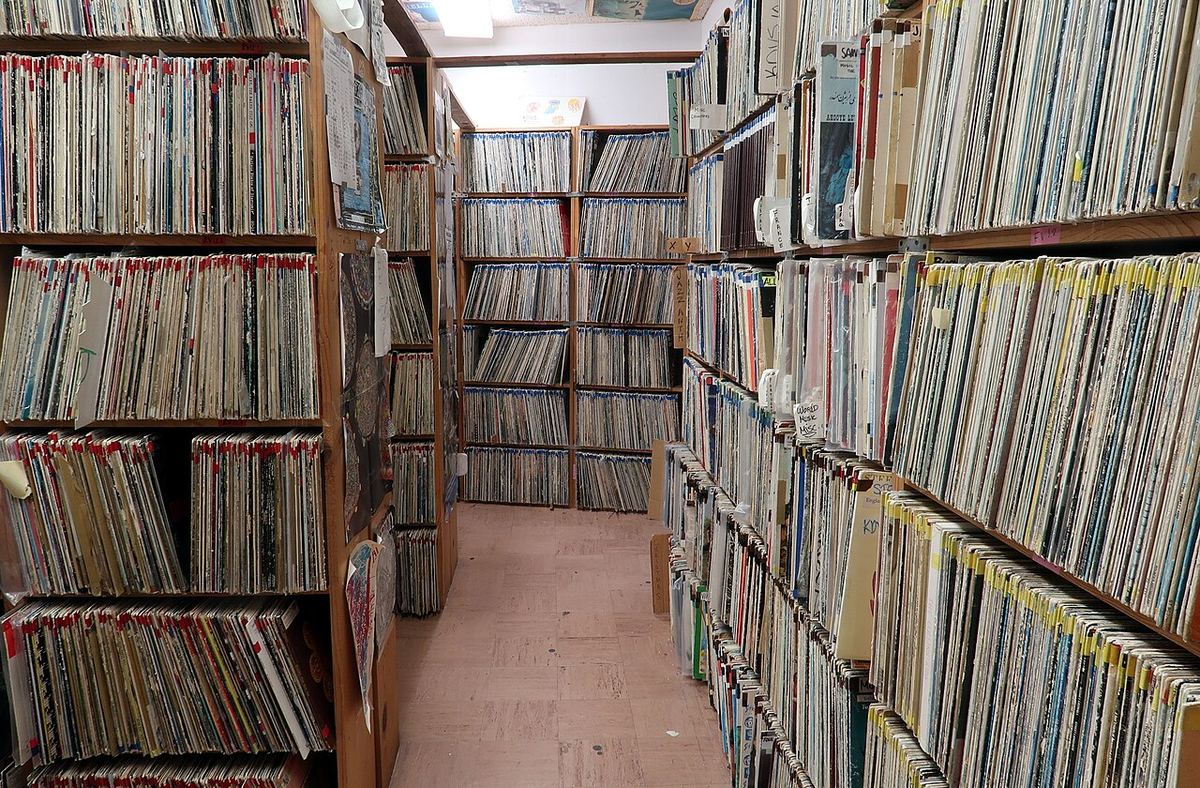
Storage. Store records vertically, standing upright like books, never stacked flat in a pile — flat stacking puts the full weight of the stack on the bottom records and, over time, warps them. Keep them snug but not crushed, so they support each other without leaning at an angle. Above all, keep them away from heat and direct sunlight: vinyl is a thermoplastic, and a record left in a warm car, near a radiator, or in a sunlit window can warp permanently in an afternoon. A stable, cool, dry spot with moderate humidity is ideal — too much damp encourages mould growth on paper sleeves and jackets.
Stylus care. The stylus and your records are in a two-way relationship, so caring for one protects the other. A stylus that has picked up a ball of fluff at its tip drags that debris through every groove and reads muffled, distorted sound; worse, a chipped or badly worn stylus scrapes the groove walls and does cumulative damage to everything you play. Brush the stylus gently from back to front with a proper stylus brush before a listening session, keep it clean, and replace it within the manufacturer's recommended hours. A fresh, clean stylus on a clean record is the whole point of everything above. (For getting the stylus itself set up correctly, see the cartridge setup guide.)
Static control. Because static keeps pulling dust back onto a clean record, managing it is ongoing maintenance. A conductive carbon-fibre brush before each side helps. Reasonable room humidity keeps static from building as aggressively as it does in dry winter air. Some listeners use a dedicated anti-static mat or a manual anti-static device to neutralise charge before play. None of this is essential, but in a dust-prone or very dry room it noticeably slows how quickly a freshly cleaned record picks up grime again.
Quick Reference: Cleaning Methods at a Glance
| Method | Effort / Cost | When to Use |
|---|---|---|
| Carbon-fibre brush | Seconds; very low cost | Before every play, to lift loose dust and bleed off static |
| Manual wet clean | Minutes per disc; low cost | Fingerprints, mould-release film, and grime a brush can't remove |
| Vacuum machine | Moderate; mid-to-high cost | Regular deep cleaning in volume; removes dirty fluid completely |
| Ultrasonic cleaner | Higher; highest cost | Reviving neglected records; the deepest possible clean |
| New / used arrivals | One wet or machine clean | Clean every record before its first play on your system |
| Anti-static sleeves | One-time; low cost | Replace paper inners to protect records between plays |
Check your vinyl front end
Enter your turntable, cartridge, phono stage, and amplifier to check gain, loading, and signal-chain matching across your whole vinyl front end.
Run a Free Analysis →